Clear Plastic “Essix Style” Trays: how to make them and 7 ways they can help patients
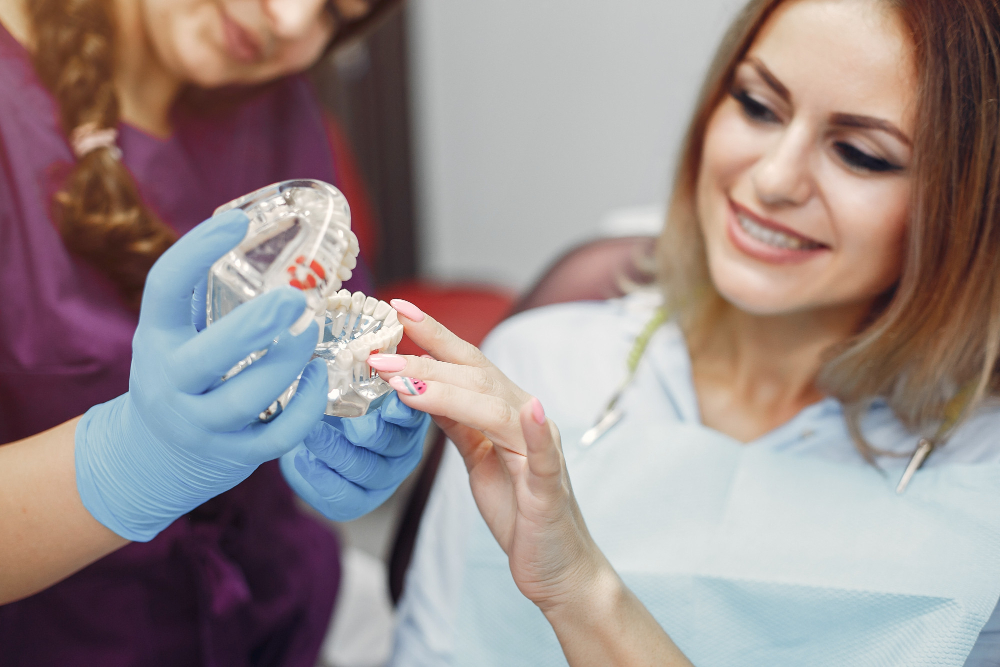
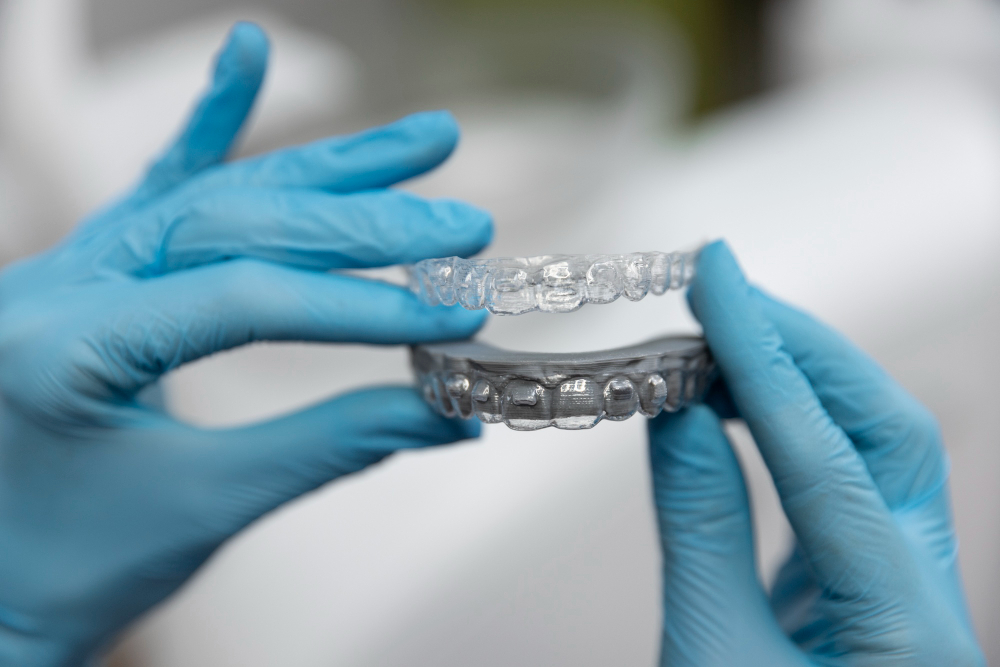
The clear plastic tray sometimes called an Essix tray has a lot of uses and can be easily made quickly in the dental office by the dentist and the assistant. With just an impression, whether it’s an intraoral scan of the teeth or an alginate impression, making a stone model and then using a vacuum machine to create the tray.
Fabrication of the clear plastic trays
There are two machines that you can use to make the Essix trays on a model.
Many dental offices have a relatively inexpensive vacuum former machine, and with this, you put the model on the machine.
The vacuum pulls the heated plastic material down over top of the model. It pulls it with a suction, and it’s perfect for making soft bleaching trays.
As the material gets thicker for the clear plastic trays, it’s a little bit harder for the vacuum to get enough suction to pull and shape it around the model, but you can still use a vacuum form to make the Essex trays with a harder 030 or 040 size plastic.
Your office probably already has a vacuumformer machine to make bleaching trays, if so, you can get some of the necessary plastic material to heat and form to make the tray on the model. Most of the time that will work.
If you’re making a lot of these plastic trays, you may want to look at the Biostar or the Druphomat.
Instead of have vacuum that pulls the plastic down over the model, these machines actually hook to the airline and have a positive pressure. And it’s pushing the plastic down over top of the model. Also, instead of pulling it down from below the model, it actually pushes it from on top of the model down onto the model itself, pushing it against there. And with 80 PSI, it really can accommodate stronger materials like thicker plastics and create a well defined shape.
The Biostar or Druphomat machines can be used to make night guards, sports guards and similar dental appliances with even thicker materials, too.
Now, as far as the model that you’re using, you can use a stone model, but if you have a plastic material that’s too strong or thick, there’s a good chance that stone model will break when you get the plastic off of the model.
If you are in an office that has a scanner and a 3D printer, then you can scan the patient and with a relatively inexpensive resin printer, you can print the model and use the printed resin model to make these trays.
The nice thing about a printed model, it doesn’t break when you make the Essix tray. So you can give that model to the patient, they can bring it in anytime they need a replacement and you don’t have to take a new impression or pour a new model or print a new model, they can reuse that same model.
So that’s the fabrication.
What to do if you don’t have the equipment in-office
Even if you don’t have the vacuum machine to make bleach and trays and you have no equipment you can still use the Essix clear trays. As long as you can take an alginate impression and pour up a model, you can send it to a dental lab.
The lab can make the Essix clear tray for you or your patient.
7 uses for Essix clear trays
Of course, a common use is to use the clear tray as a Essix style clear retainer just to hold the teeth in place, especially after orthodontics or Invisalign. However, there are at least 7 uses for the clear trays.
Replacement retainer
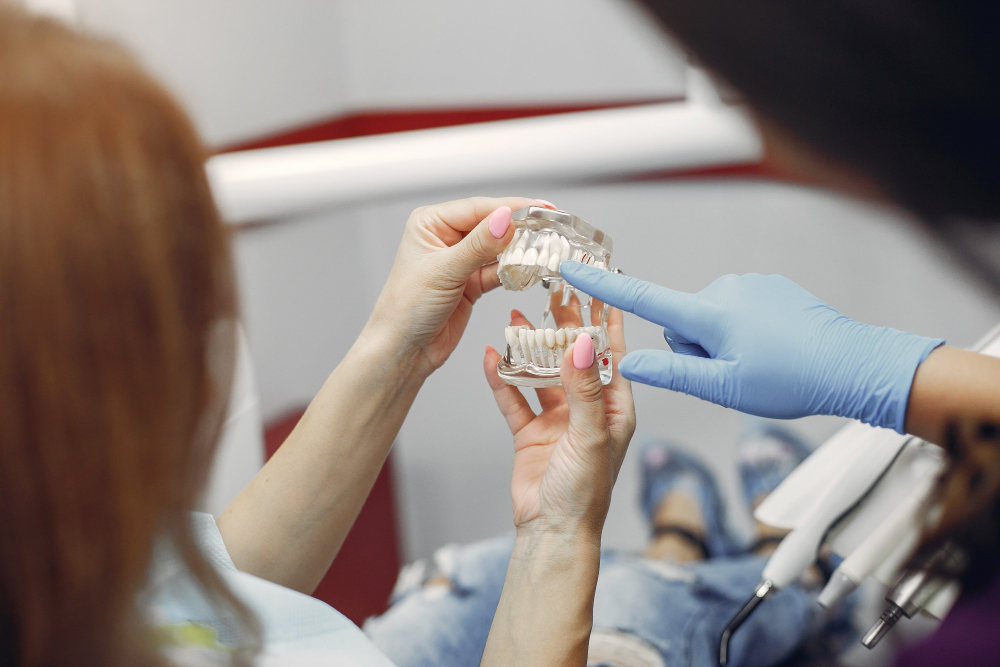
We mentioned the tray can be used as a retainer. It’s a lot less bulky than the traditional Hawley style retainers that had the acrylic in the roof of your mouth and the wire around the teeth.
Support healing of implants or dentures
It can be a perfect option for patients who had a recent implant rather than a flipper, which is like a one tooth partial denture that has the acrylic and a tooth on there.
The flipper is going to put pressure on that implant while it’s healing and maybe pressure on the gums, but an Essix clear tray will be tooth supported.
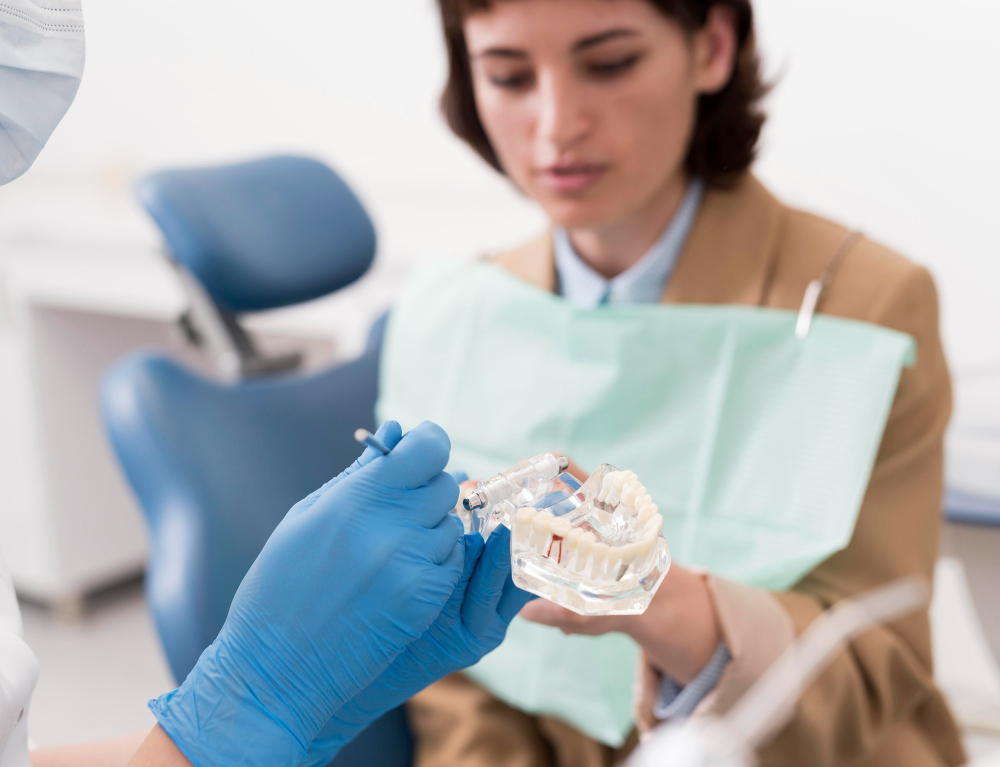
The pressure will be going on the adjacent teeth, and there could be a replacement tooth made out of composite or a denture tooth that’s in the clear tray, and so that there’s no pressure on the implant itself. All the biting pressure is supported by the rest of the teeth that hold the tray.
If you’re making the replacement tooth, you could just take a little composite and make a tooth and put it on the model and then make the tray over top of it.
Or if you had a denture tooth, you could attach it there and then make the tray on the model with the tooth in place so that the tray fits around the tooth that’s on the model.
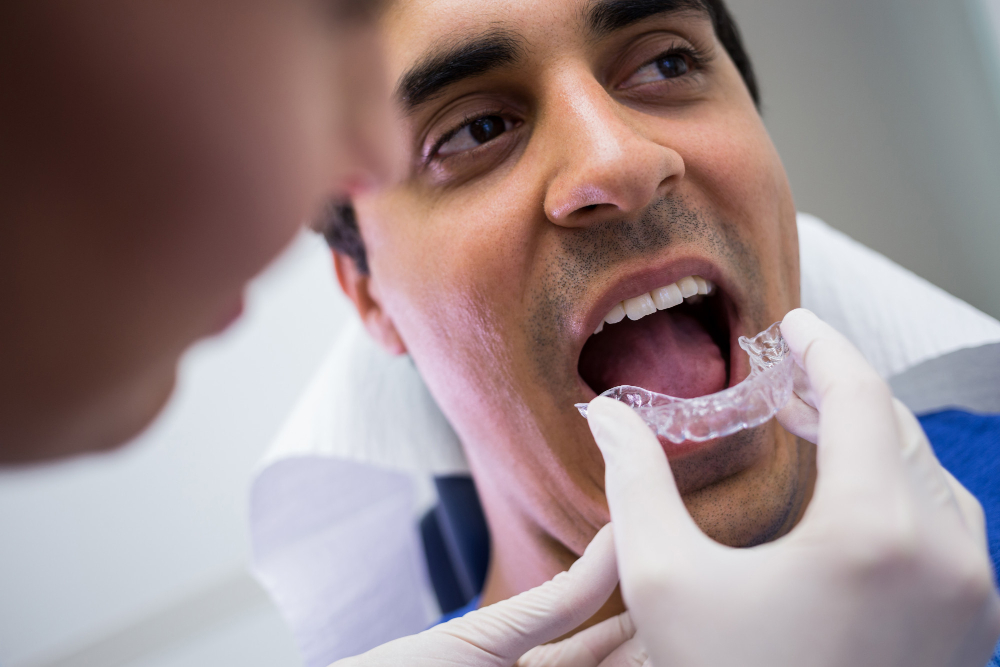
Emergency use
Another use for these trays is in an emergency.
If a front tooth breaks, whether it’s just the full tooth or maybe there was a crown that broke and part of the tooth broke off inside of the crown, and now you’ve got a root that’s right at the gum line and there’s no retention for filling or to resubmit the crown.
And maybe there is a new post and crown that’s planned for the tooth, or there’s an implant that’s planned for the tooth.
But the problem is the patient doesn’t want to leave your office with a broken tooth. They have a lot of anxiety about the anterior space in their smile..
So this can be a temporary tool to give the patient some confidence. All you have to do is take the impression, make a clear tray with the tooth, and then give the patient this later that day or early the next day, just so that when they’re smiling, you’ll barely notice the clear tray and it’ll hold the replacement tooth to fill in that space on one of those front upper incisors, for example.
This can give the patient more confidence if an emergency happens and we need more time for a longer-term treatment.
Whitening trays
Another use of course, is you could use these trays for bleaching trays to do whitening.
The bleaching material for the bleaching trays typically are a little bit softer and probably more ideal for bleaching than the 030 or 040 thickness harder plastic Essix style trays. But still, if you already have one of these trays, you could just add some bleaching gel to it and use it as a bleaching tray and as an orthodontic retainer, for instance, another use, this could be a daytime occlusal guard.
Managing bruxism/daytime occlusal guard
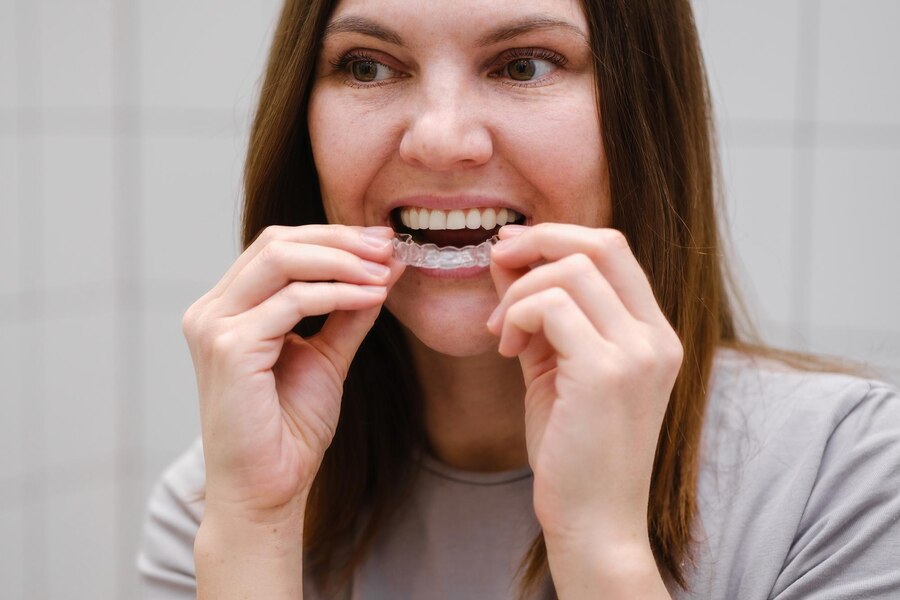
Maybe the patient has a night guard they’re using at night, but they want something smaller to maybe control a clenching habit during the day.
You could add some composite on the lower canines on the model, make a lower tray, and then give that to the patient with the composite buildups on the lower canines to disclose the occlusion.
Because during the day, they don’t want a thick night guard that kind of obstructs their talking. But if you had just a lower Essex tray and under the Essex tray, it had two composite blobs on the lower canines, just enough to help disc exclude the teeth at the canines.
It could serve as a reminder to help the patient relax the muscles and try to stop or reduce the clenching habit.
Temporary partial denture
The clear tray with some composite teeth could be a temporary partial denture to use while the gums are healing.
In this instance, let’s say a patient comes in and they need to get two incisors taken out, and we’re going to make a removable denture, but we want to let the gums heal for a week or two before doing final impressions for the partial dentures.
We can take an impression, do the extractions, and use the model with the teeth still in place to make the tray, then do the two extractions. You’ll already have an outline of the shape of the original teeth.
Just add some composite into the tray because the tray already has the shape of the original teeth because the impression was made before the teeth were extracted.
Then just add some composite.
Where the teeth are extracted, you can give that tray to the patient, they’ve got something to fill in that space while we wait a week or two for the gums to heal. And then we come back, do another impression with the teeth out and the gums healed so that we can make a cast partial denture, for instance, after the gum has healed.
So that could be another option just for an inexpensive temporary idea, depending if there are enough teeth to support the tray. And there was enough reason to have a tray to fill in some spaces in the front.
Removable braces
There’s also other occasional uses. For example: someone who’s getting ready to get their braces off and they’re taking their braces off because it’s time their orthodontic treatment is completed.
But maybe this patient that loves how their braces look and they want to be able to see that again. And so when the braces are removed, you could make a tray that you call removable braces.
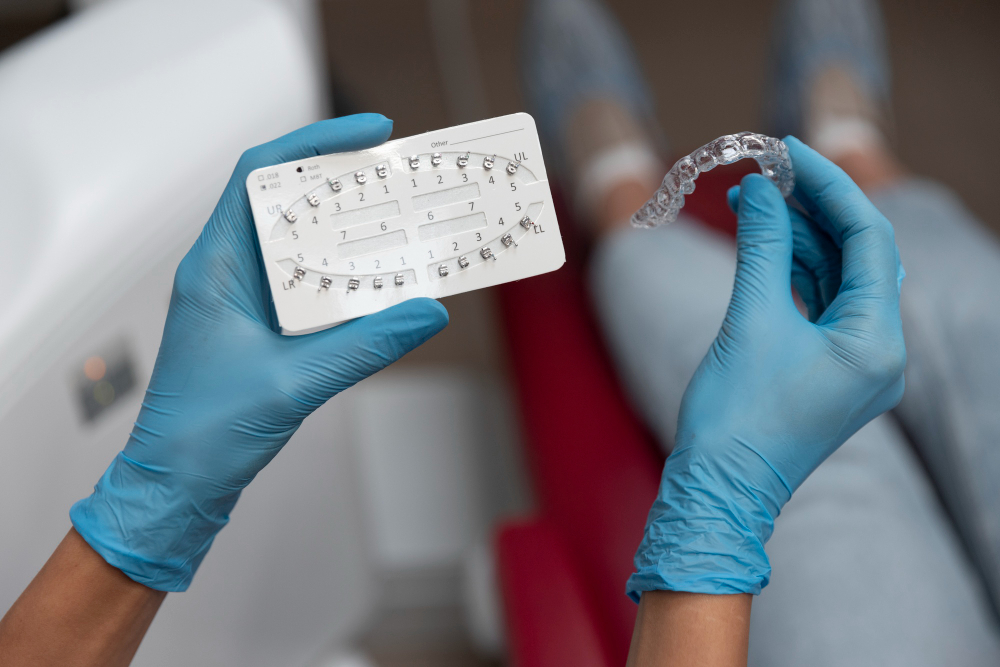
Basically when the braces are removed, just leave the brackets attached to the wire with the colors, unhook all the brackets, but leave the wires and the elastic colors in place on the wire.
And that wire with the brackets and colors attached can be glued on the model and then make the tray over top of it. Then the patient can put the tray in, which will hold the brackets in place. When they smile, you’ll see the brackets.
The clear tray is hardly noticeable, and then of course they can take the tray out, brush clean and eat.
So it’s just something to look nice for the pictures.
But these clear trays have lots of uses, especially in an emergency. It can be something that can be made the same day and can be a temporary solution for many different situations that arise when more time is needed to do a more definitive treatment, like a new post and crown, or if we’re waiting for an implant to be restored.
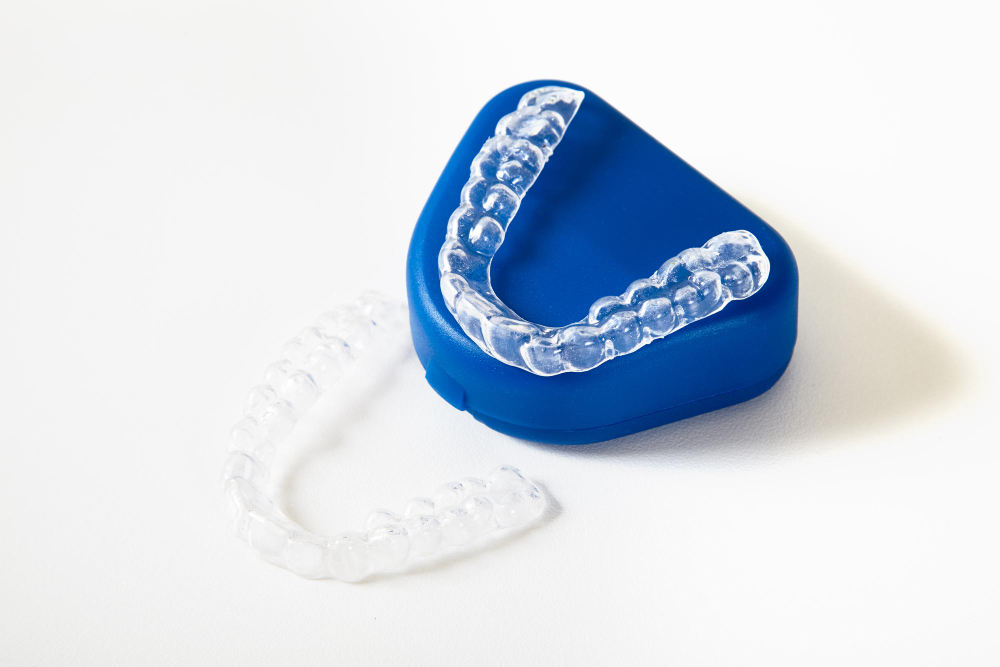
The versatility of Essex clear trays
The versatility of Essex clear trays is something to keep in mind when you’re looking for an option to solve a situation quickly and need something to help until other options are available.

